How to replace a plantation shutter louver
Watch a real louver fitting example, follow the pin-fitting sequence and check the matching tilt connection before operating your shutter.
This guide shows a replacement louver fitted with a matching fixed pin and spring-loaded pin. Compare your shutter with the example first: pin layouts and tilt mechanisms vary, and a gear-driven shutter needs its own matching parts and procedure.
Watch the fitting example
The video is silent with English captions. The written steps below explain the fitting sequence shown. Pause the video to compare the pin and frame details with your own shutter.
Before you fit the new part
Follow the original shutter maker's procedure for removing the damaged louver and disconnecting its tilt attachment. Keep the panel supported. Do not pull on the tilt rod or force a louver out of a frame that uses a different retaining system.
Once the damaged part is removed, compare the replacement's length, face width, thickness, profile and prepared connections with the original. The body length excludes the pins. Check the frame holes and existing mechanism for visible damage before fitting. A broken frame fixing or damaged gear cannot be corrected simply by installing another louver.
Fit the matching pin assembly
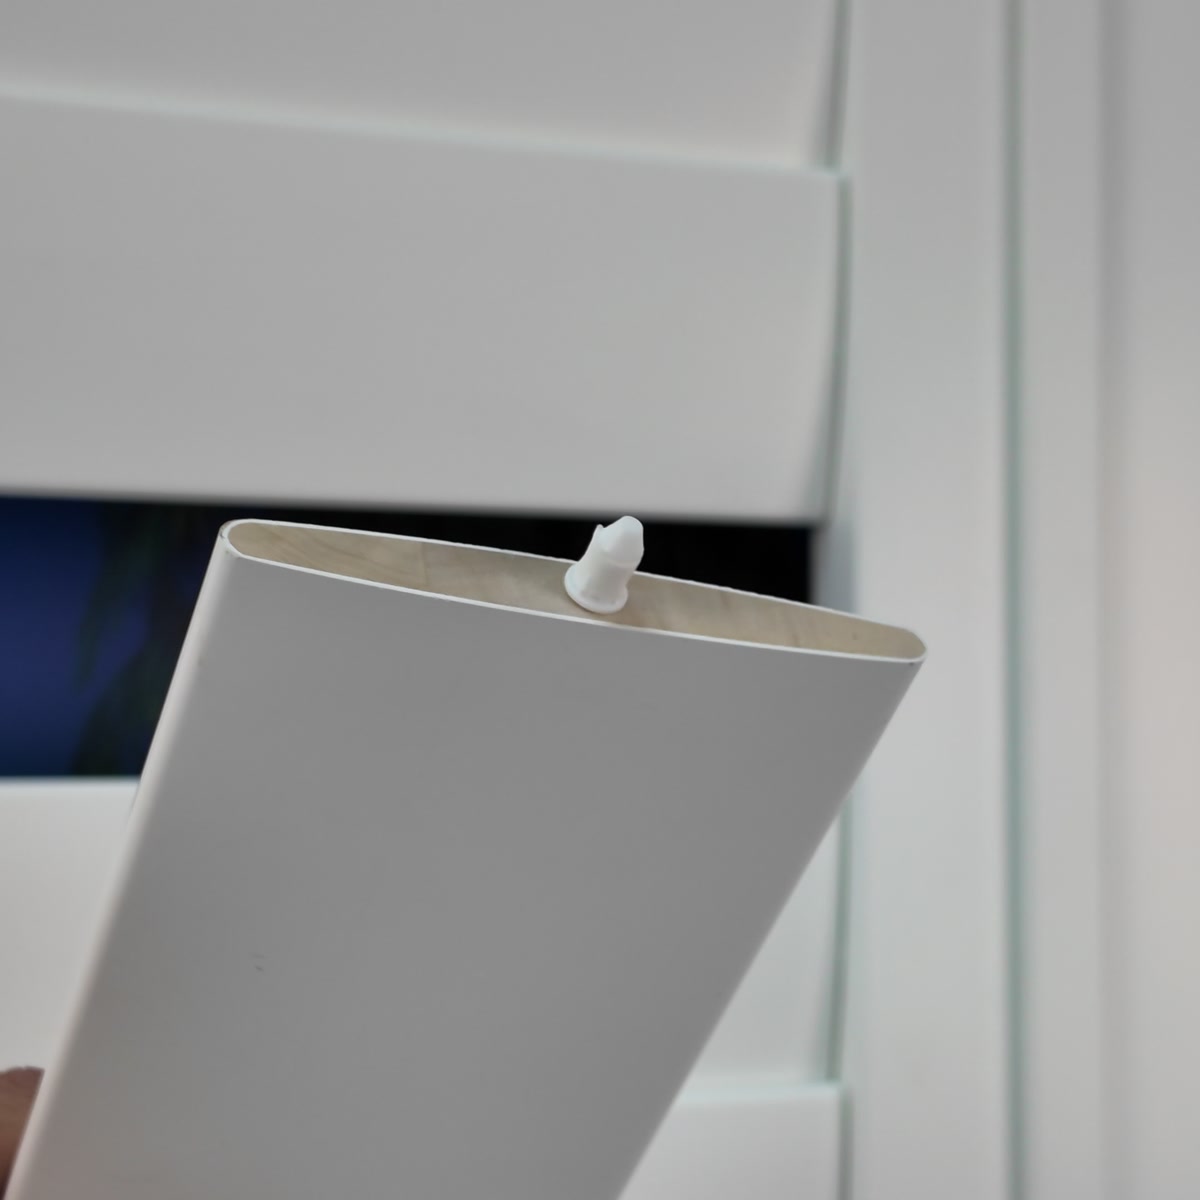
1. Check the end pins
Identify the fixed and spring-loaded pins in the matching installation kit. Check their fit in the prepared louver ends and compare their positions with the original assembly. The spring-loaded pin must move freely for the fitting sequence shown.
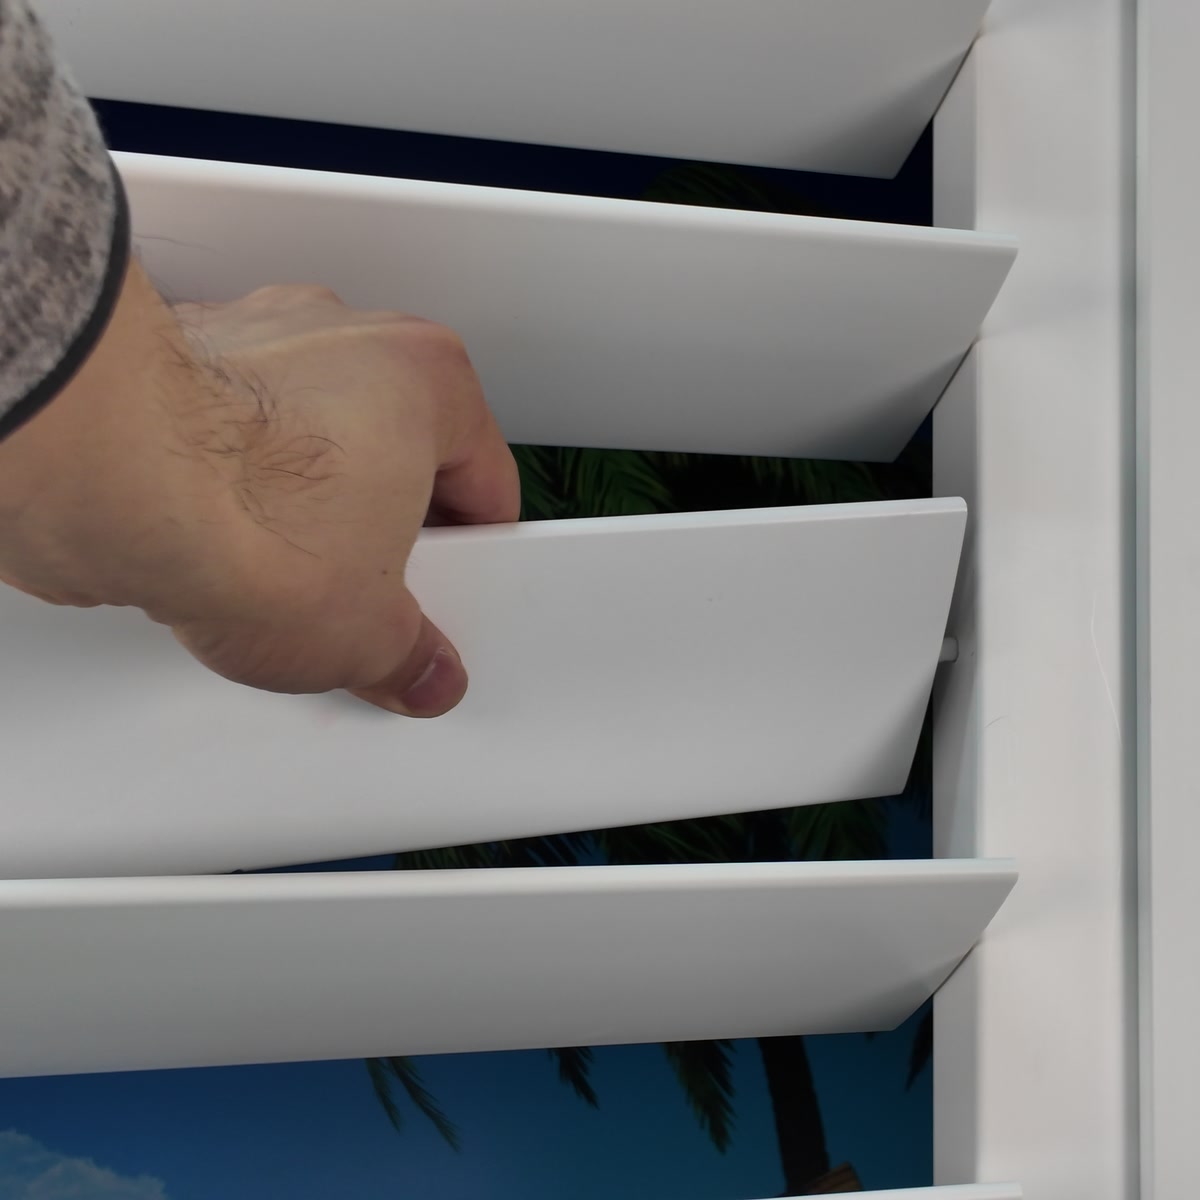
2. Position the louver
Support the louver and place its fixed-pin end into the corresponding existing frame hole. Keep the opposite end supported while you bring it into position. Avoid twisting the louver or using the surrounding louvers as a lever.
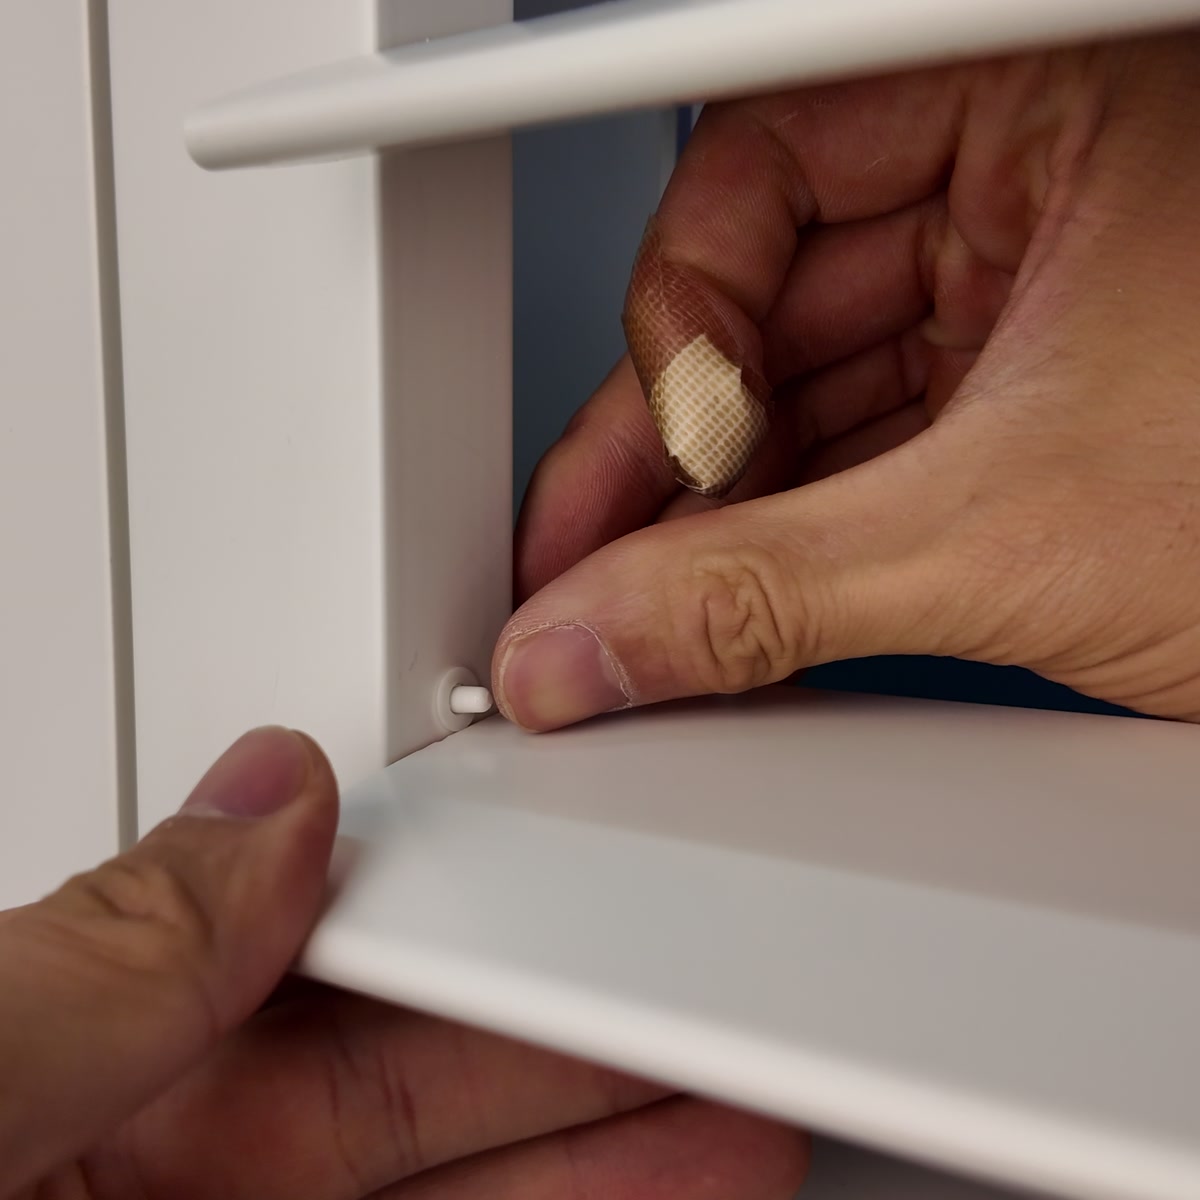
3. Engage the spring pin
Gently depress the spring-loaded pin while aligning that end with its frame hole. Release the pin into the hole once aligned. Keep the louver supported until you have checked that both ends are seated.
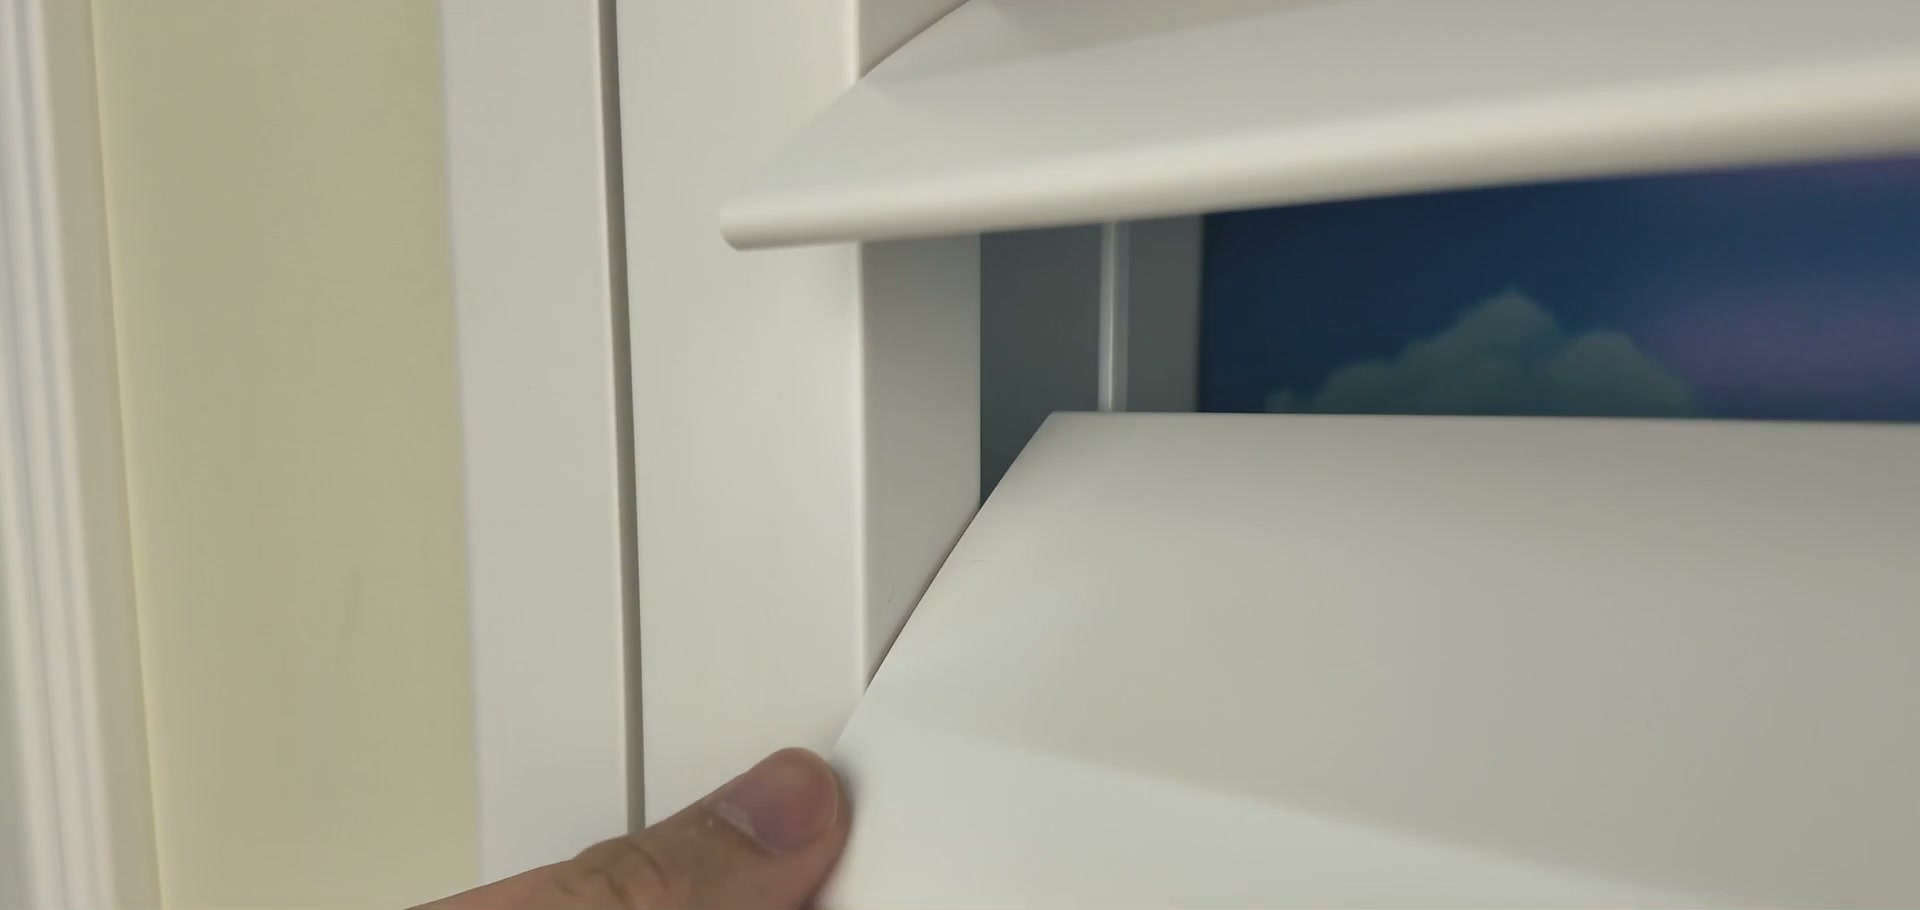
4. Check the fit
Gently check that the louver stays supported at both ends and moves without rubbing or binding. If a pin does not engage or the louver catches the frame, stop and recheck the dimensions and hardware.
Reconnect the correct tilt mechanism
A front tilt rod uses a visible connection on the room-facing side. A hidden tilt rod connects behind the panel. Gear systems use a different end connection. Match the preparation and selected kit to the mechanism already fitted; the pin-fitting demonstration does not establish compatibility with every shutter.
See the front and hidden tilt rod examples before reconnecting. No gear installation tutorial is provided here. Use the procedure for your original system when working with a gear-driven panel.
Finish with a gentle movement check
Operate the connected louvers slowly through their normal movement. Check that the replacement follows the others and that the pins and tilt connection remain engaged. Stop if movement requires extra force or a connection pulls loose. Recheck the fit before using the shutter again.
These are replacement parts for an existing shutter. We do not provide on-site installation. If you are unsure about removing or reconnecting your particular assembly, ask a shutter repair professional to inspect it.